Webflow
Follow these simple steps to integrate Videobot with your Webflow site.
Step 1: Log in to Webflow
- Open your web browser and navigate to Webflow.com.
- Click on the Sign In button at the top-right corner and log in to your account.
Step 2: Navigate to the Webflow Site Designer
- After logging in, go to the Dashboard to see a list of your websites.
- Click Open Designer on the website where you want to add the custom code. This will take you to the Webflow Site Designer.
Step 3: Choose the Page
- In the Webflow Designer, click on the page where you want to add custom code.
- In the right panel, click on the Settings tab.
- Select the Custom Code option.
Step 4: Copy the Embed Code from Videobot
- In a separate browser tab, log in to your Videobot Dashboard.
- Select the Videobot you want to embed.
- Navigate to Share & Embed, then choose either Widget or iFrame.
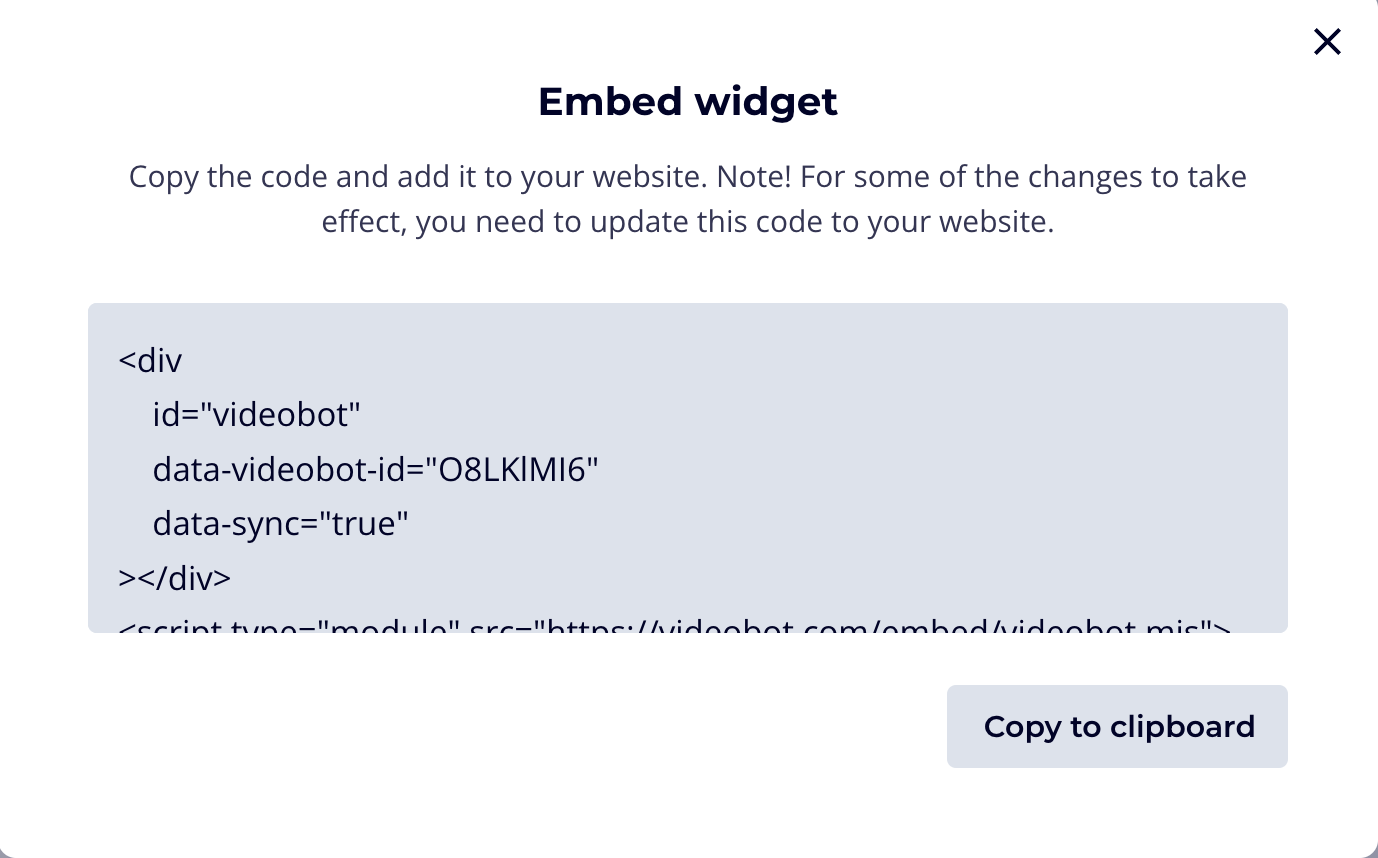
- Click Publish, then Show Embed Code.
- Copy the generated HTML code.
Step 5: Add the HTML Code to Your Element
- In the Custom Code section, you will see two boxes: one for Head Code and one for Body Code.
- The head code is placed in the head of the HTML document.
- The body code is placed just before the closing body tag.
- To add the code, paste the Videobot HTML code (from Step 4) into the Body Code section.
- You can also write custom code directly into the box.
- Drag and place the element into the area where you want the Videobot to appear.
Step 6: Success! Adjust to Your Liking 🎉
- Click the Save button in the Webflow Site Designer to save your changes.
- Preview to see your Videobot and make adjustments if necessary.
- You may need to adjust the size of the element in the editor if the Videobot appears cropped or too small.
- Once everything looks perfect, hit Publish to make your changes live.