WordPress
Follow these simple steps to integrate Videobot with your Wordpress website.
Step 1: Log in to Your WordPress Admin Panel 🛠️
- Open your web browser and navigate to your website’s WordPress admin panel.
- Input your credentials into the form and log in to your account.
Step 2: Navigate to the Page in WordPress Editor
- After logging in, go to Pages to see a list of your website’s pages.
- Choose the page where you want to add the custom code. This will open the content of the page, allowing you to add a new block.
Step 3: Add a Custom HTML Block
- On the page you've chosen, press Add Block (or the Plus icon) on the block area or at the top of the editor.
- From the available block options, choose Custom HTML.
Step 4: Get the Code for Your Videobot
- Option 1: Get the code for your Videobot via email from our Customer Success Team.
- Option 2: If you have dashboard access:
- Choose the Videobot you want to embed.
- Navigate to Share & Embed.
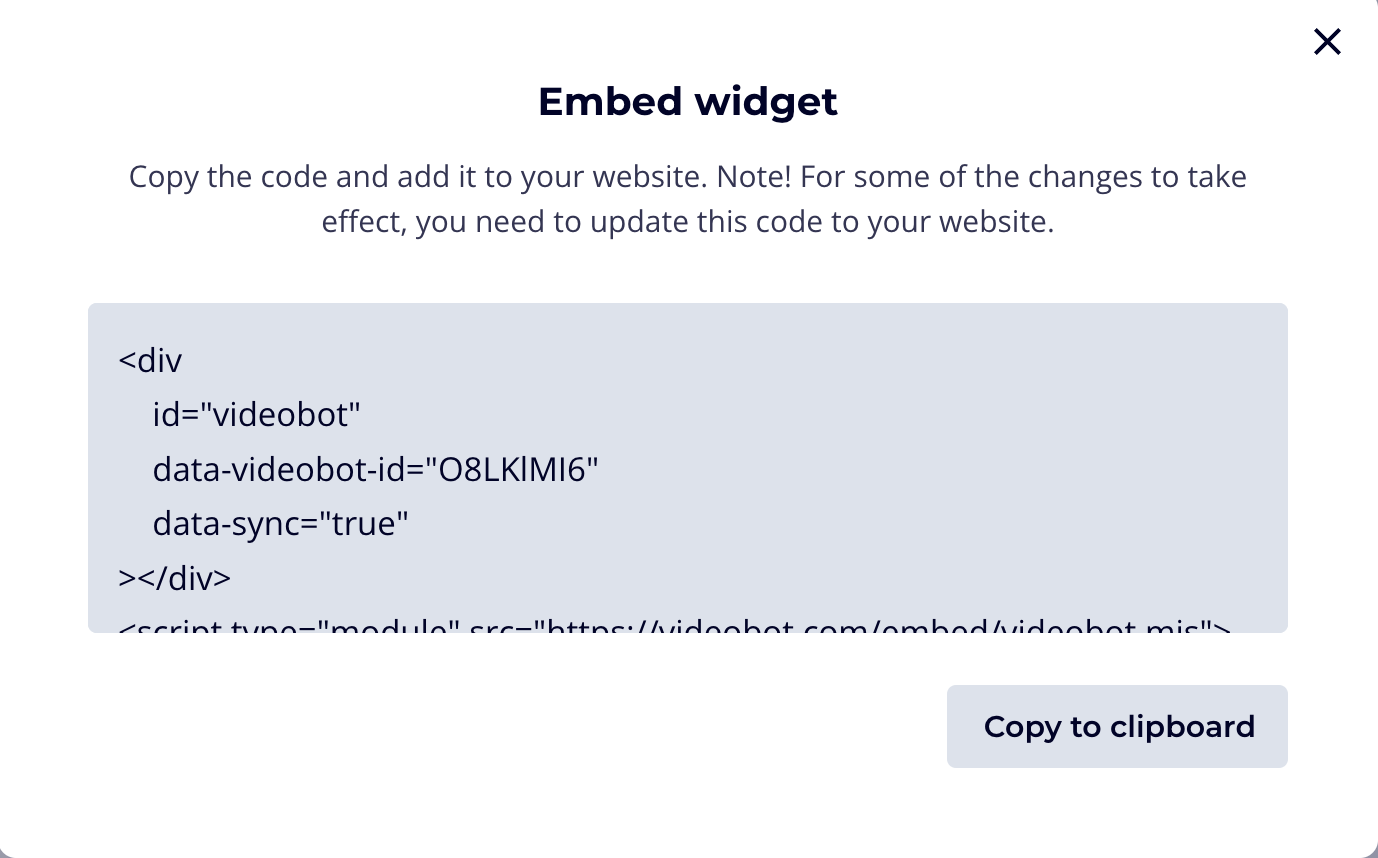
- Click Save and Get Code.
- Copy the generated HTML code.
Step 5: Add the HTML Code to Your Custom HTML Block
- Click on the Custom HTML block you’ve just added to select it.
- Open the block editor, and in the text area that appears, paste the Videobot HTML code (from Step 4).
- Drag and place the Custom HTML element into the location on the page where you want the Videobot to appear.
Step 6: Success! Adjust to Your Liking 🎉
- Click the Save button to save your changes.
- Preview your page to see your Videobot and make adjustments if necessary. You may need to adjust the size of the HTML block if the Videobot appears cropped or too small.
- Once everything looks perfect, click Publish to make your changes live.
That’s it! You've successfully embedded Videobot on your WordPress site. 🎉