Contact Forms ✉️
The Contact Form feature is available if you need a simple way to collect user information. This form includes basic fields, and when a user submits it, the information is sent to the email address of your choice.
However, for better integration and efficiency, we recommend adding your own contact form to the Videobot as an external link that opens inside the Videobot. This method allows the form submissions to follow the same process as your other forms and can be directly integrated with your CRM system, ensuring leads are collected seamlessly.
Why Use an External Contact Form?
- Direct Integration: Form submissions go straight to your CRM system.
- Consistent Logic: You maintain the same process as you do for forms elsewhere on your site.
- Better Lead Management: Ensures you capture leads more efficiently.
How to create a contact form in the Videobot Builder
If you want to link the button on a Slide to a contact form instead of a video, follow these steps to create the form within the Videobot Builder:
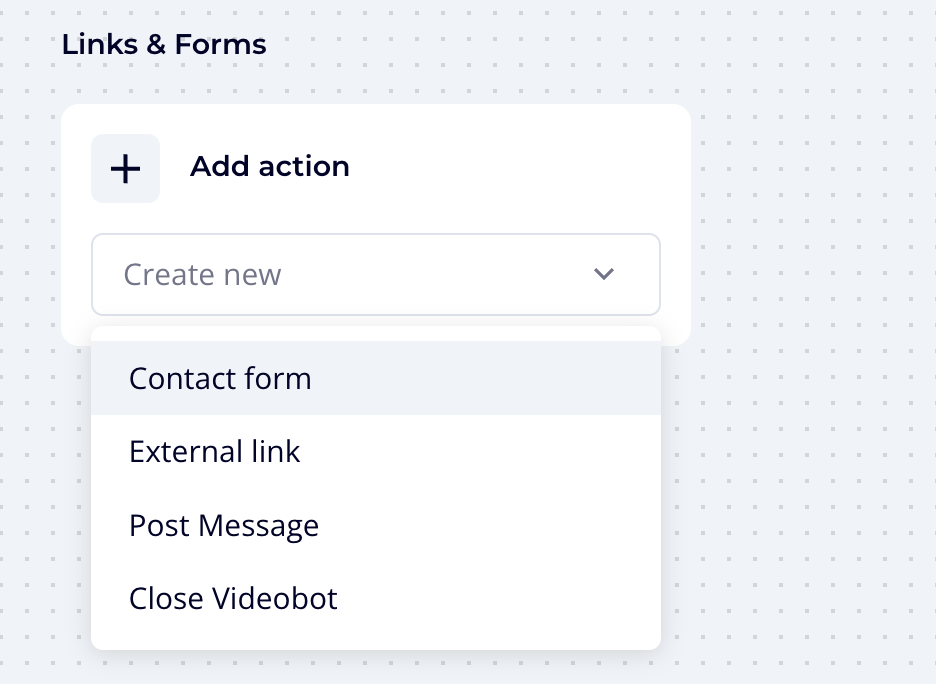
Navigate to the “Links & Forms” section at the bottom of the Videobot Builder.
In the Add action box, click Create new and select Contact Form.
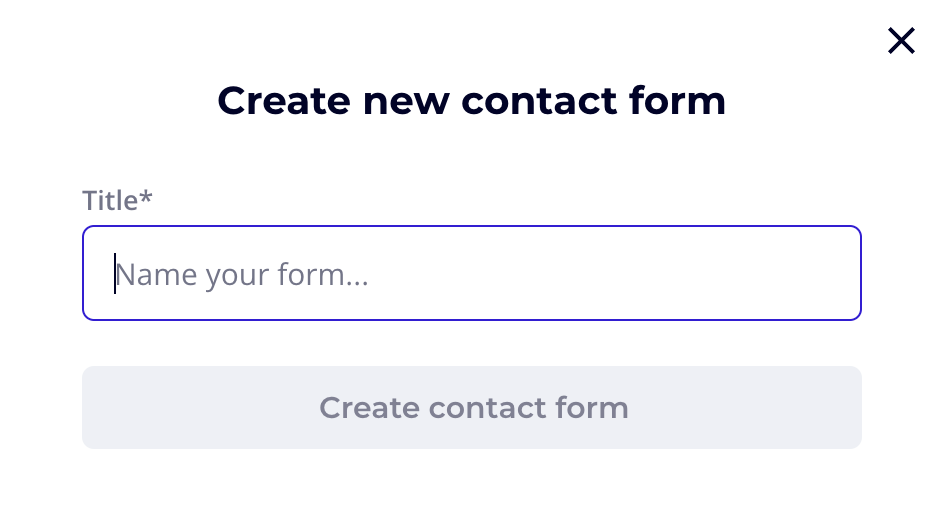
- Give the form a name and click Create contact form
- Fill in the following fields:
- Description
- Email (where the filled-out forms will be sent)
- BCC Email
- Subject
- Add necessary fields that will appear in your custom form

IMPORTANT
Please turn the Custom privacy policy toggle on to link the form with your privacy policy
- Click Save. You can always change these settings later.
Now, go to the slide where you'd like to add the contact form:
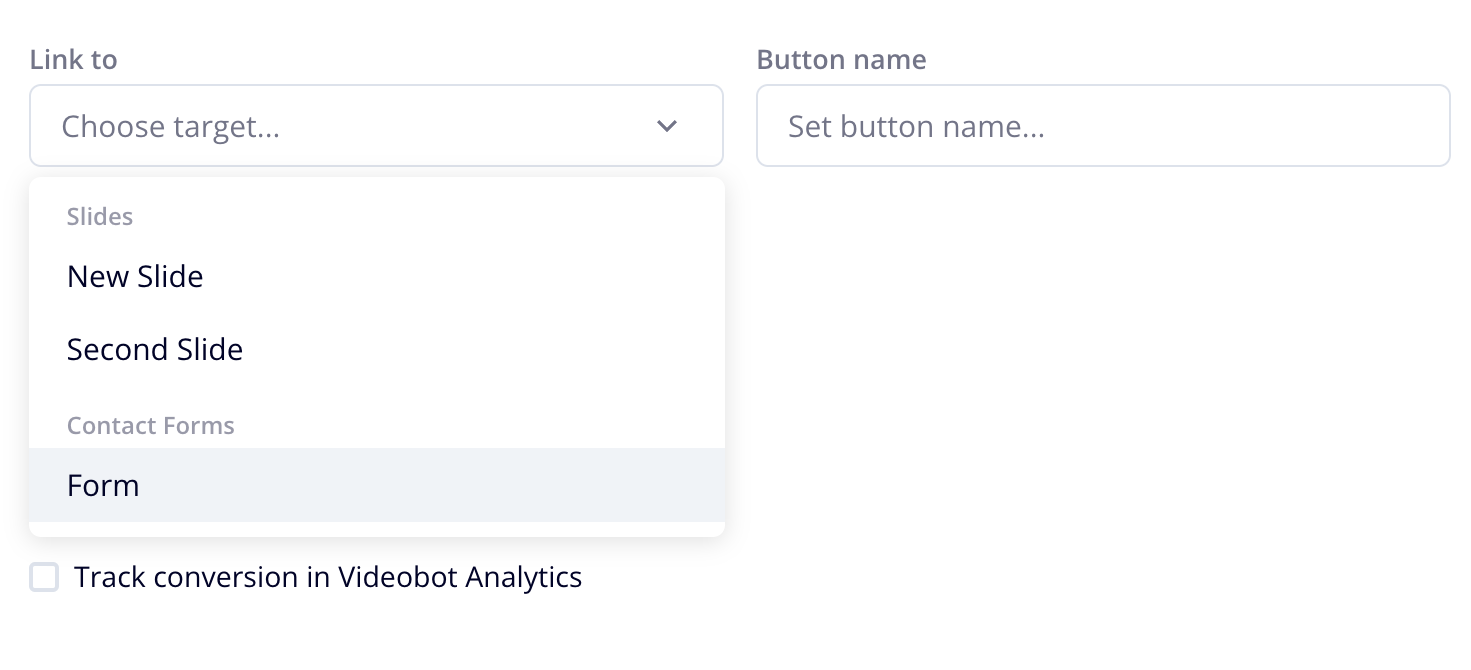
- Add a button and link it to the contact form you just created.
- Give your button a name that reflects the form’s purpose.
You're all set! 🌐
Passing Parent URL to Videobot Forms
When using Videobot widgets or sliders, the parent URL is automatically sent along with the lead form submission.
This makes it easy to identify from which page the lead was generated.
However, when embedding Videobot using an iframe, you need to manually send the parent URL to the iframe.
This ensures that leads coming through the form are properly attributed to the correct page.
Implementation Example (React)
Here's how you can set up your React component so the iframe receives the parent page URL:
useEffect(() => {
  const handleLoad = () => {
    if (!iframeRef.current) return;

    iframeRef.current.contentWindow?.postMessage(
      {
        action: "VIDEO_BOT_SET_PARENT_URL",
        value: window.location.href, // full parent URL with route
      },
      "https://videobot.com" // 👈 must match the iframe origin
    );
  };

  const iframe = iframeRef.current;
  iframe?.addEventListener("load", handleLoad);

  return () => {
    iframe?.removeEventListener("load", handleLoad);
  };
}, []);
Key Points
- ✅ Widgets and sliders automatically handle parent URL sending.\
- ✅ For iframe embeds, you must explicitly send the parent URL using
postMessage.\ - ✅ Make sure the
originmatches the Videobot domain (https://videobot.com).\ - ✅ Use
window.location.hrefto capture the full parent route (including query parameters).
By following this setup, you'll be able to track leads more accurately and know exactly which page they came from.